
Checking a used bike is very different than trying out a brand-new one. Besides the actual size fit and function on the trail, you need to get a good picture of the condition the bike is in when buying second-hand.
Here is what to look for when buying used mountain bikes:
I would generally not recommend buying used bikes for inexperienced beginner riders or ones who don’t know mechanic basics. New bikes of a previous model year at a deep sale are the better option.
Note: Carbon frames and components are more difficult to check for wear and tear as they don’t bend like aluminum. They rather snap, but that doesn’t happen easily and it also doesn’t show beforehand. Good indications of damaged carbon components are marks of impact like scratches or chipped paint.
Tip: Bookmark or print off this used mountain bike buying checklist and take it with you when trying to find your next bike. It may just save you from purchasing a wreck.
This is how to inspect a used mountain bike:
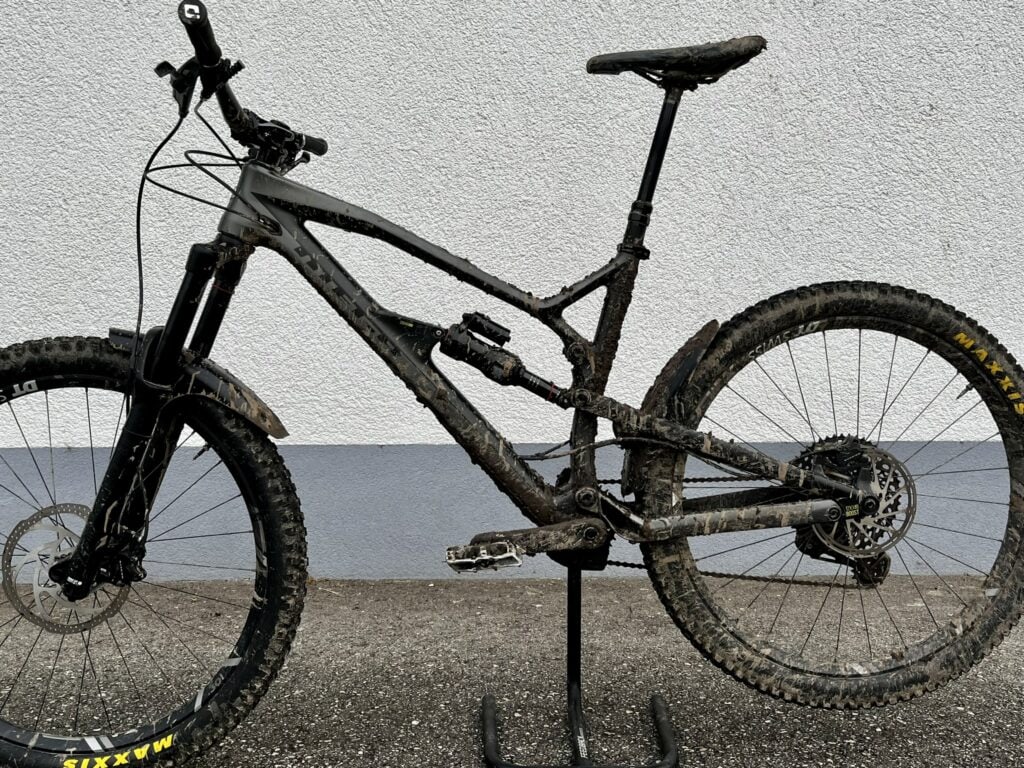
Check for obvious damages
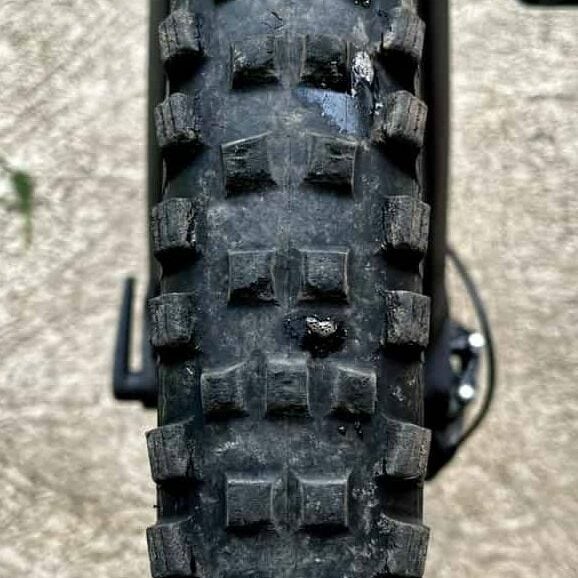
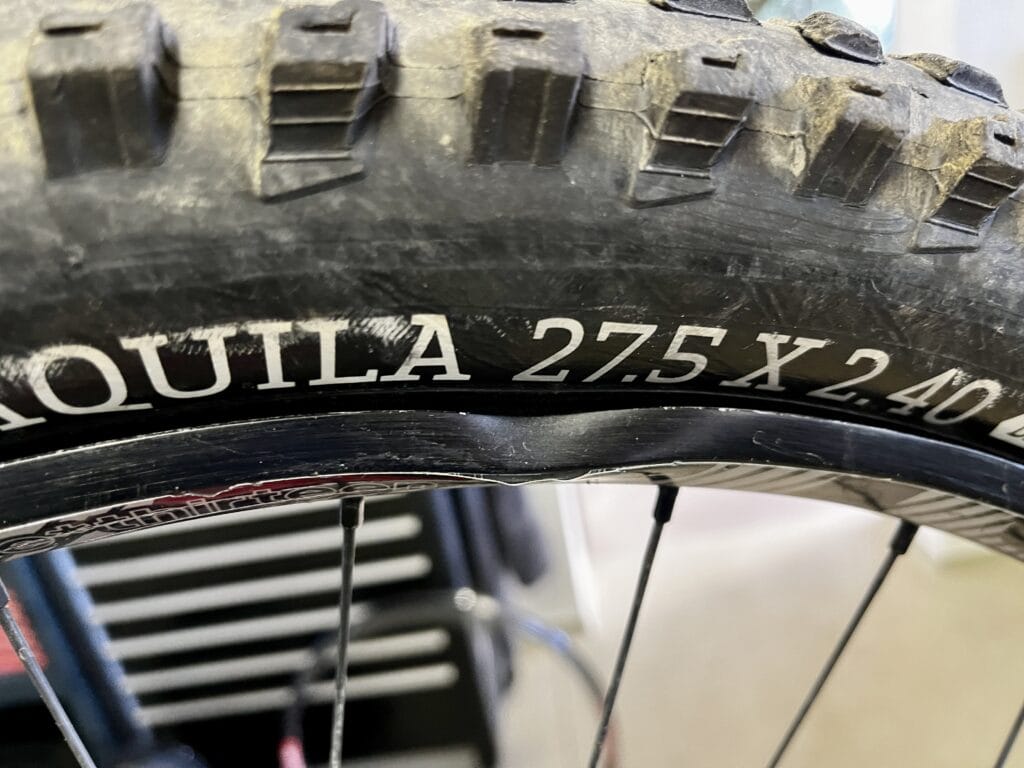
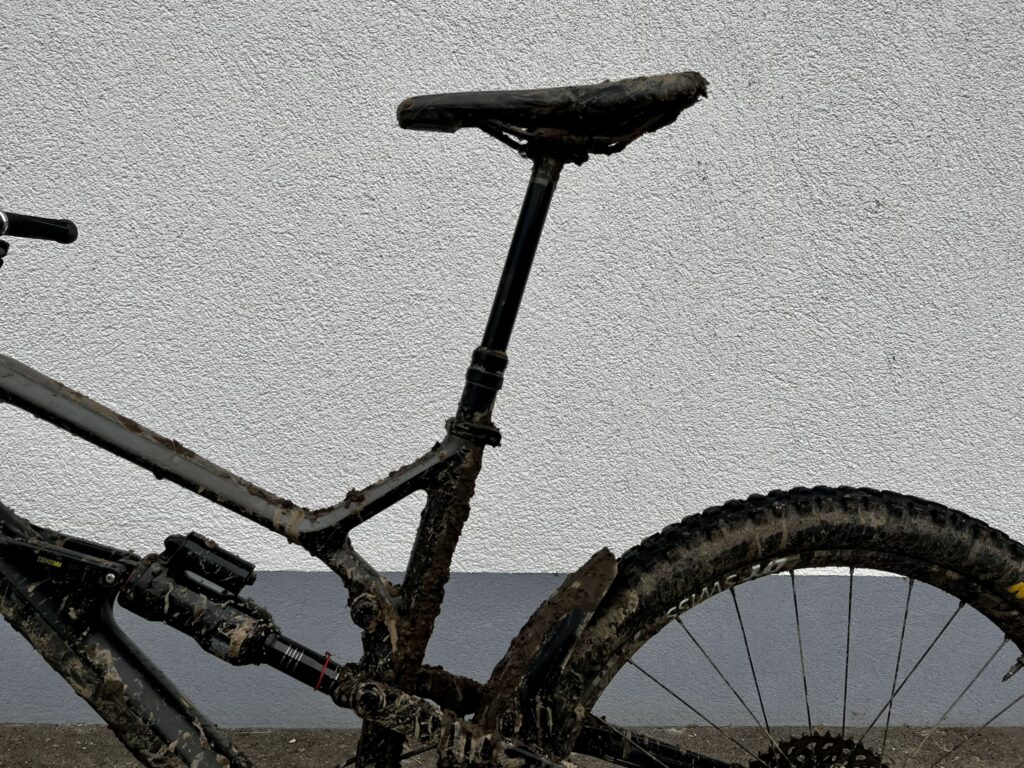
Check the obvious things like damages on the frame, a torn saddle, bent handlebars, worn tires, broken brake levers, and a worn chain and sprockets. This gives you a good first impression on the overall condition. Also, be wary if it’s not cleaned properly to allow for a detailed inspection.
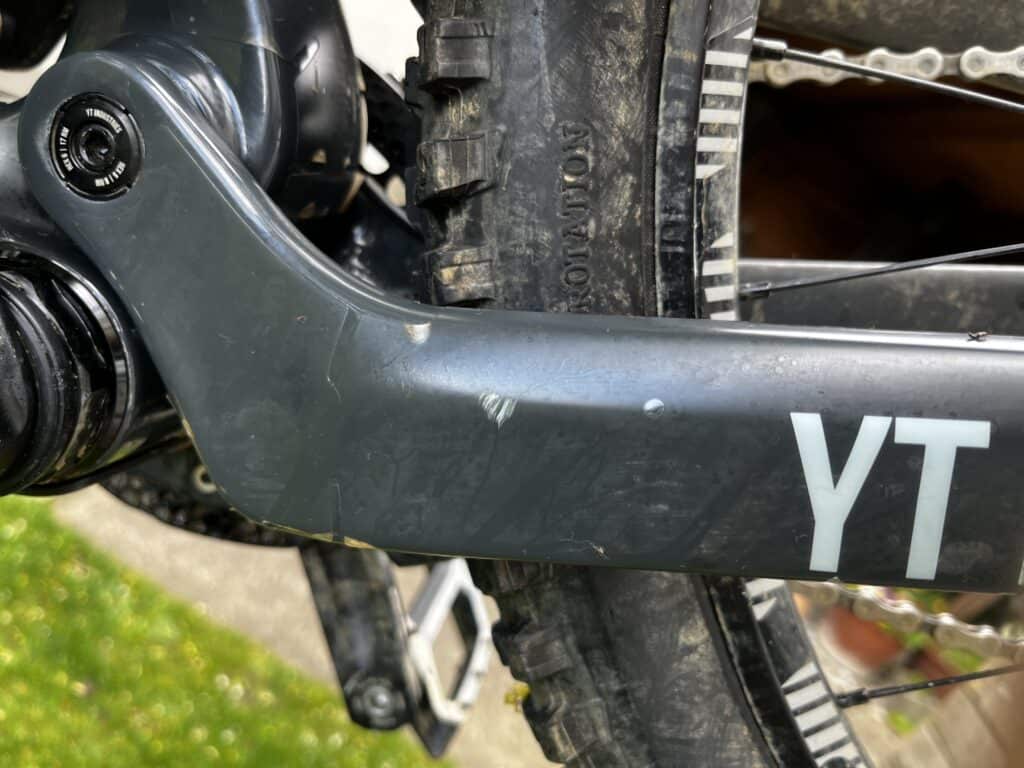
Pedals, bar-ends, downtubes, and the rear triangle are common places for light scratches occurring from normal use, rock strikes, and the occasional crash. The same is true for every area where cables can rub on the frame (which are also good spots to silence bike cables). Don’t worry about marks there too much.
Spot any rusty parts
A little rust is pretty normal on a mountain bike that’s ridden and abused in any weather condition. Excessive amounts on the other hand are not. Depending on where you find some, it should give you a good picture on the reason it’s there.
A rusty chain is generally a sign of lacking care. Either it’s very old and loose, or not lubed properly. There is no excuse for either, as the chain is maintained easily and replaced cheaply. Some found on chainring and cogs is relatively normal, if the bike hasn’t been used lately. Rusty spokes and – more importantly – bearings are the more egregious offense here. But more on that later.
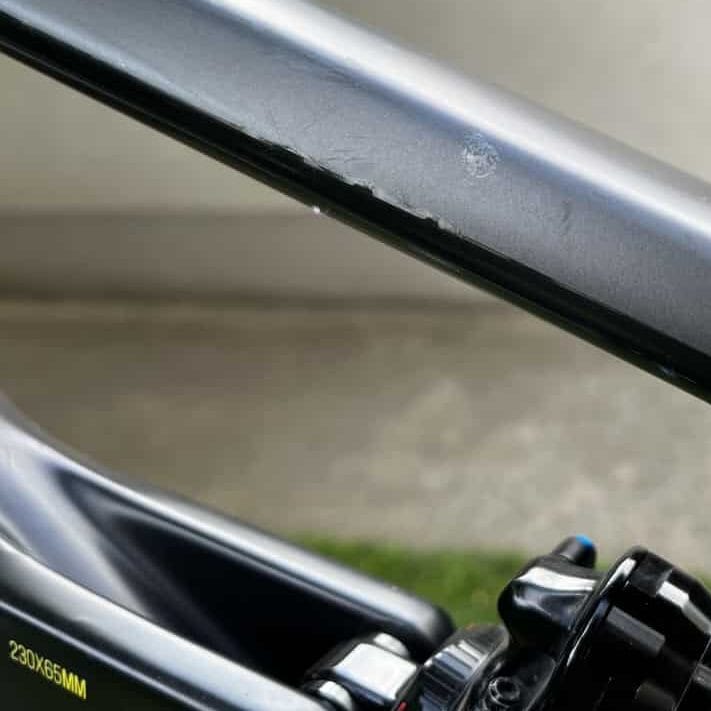
Closely inspect the frame
Check the frame and look for bends, dents, cracks, fractures, and old repair jobs (or what’s hiding underneath). Any of those should be an instant red flag. Beware: Carbon frames cannot bend and don’t show wear easily, so be extra vigilant with a cracked or chipped paint job.
A frame with protection wrap (like RideWrap) may have a slightly tinted color if the wrap is a little older, but is probably pristine underneath. If it’s been applied when the bike was brand new, expect the paint job to look pretty much new when the film is removed.
Check serial number
Make sure the serial number has not been scratched off as this indicates a stolen bike. It’s often found near the bottom bracket or seat tube if it has one.
Are the wheels running true?
Give both wheels a push and see if anyone wobbles in any direction – up & down or side-to-side. Look carefully and focus on the rim as a tire seated crookedly can also give the impression of the wheel running untrue. Loose or even broken (missing) spokes can also be a reason for “figure eights” in a wheel.
Also, check the rims for cracks and bends, especially where the tire bead sits. Any bends there could mean tubeless tires not sealing anymore. Scratches are not much of an indication to go by here. Especially rear wheels get scratched very easily.
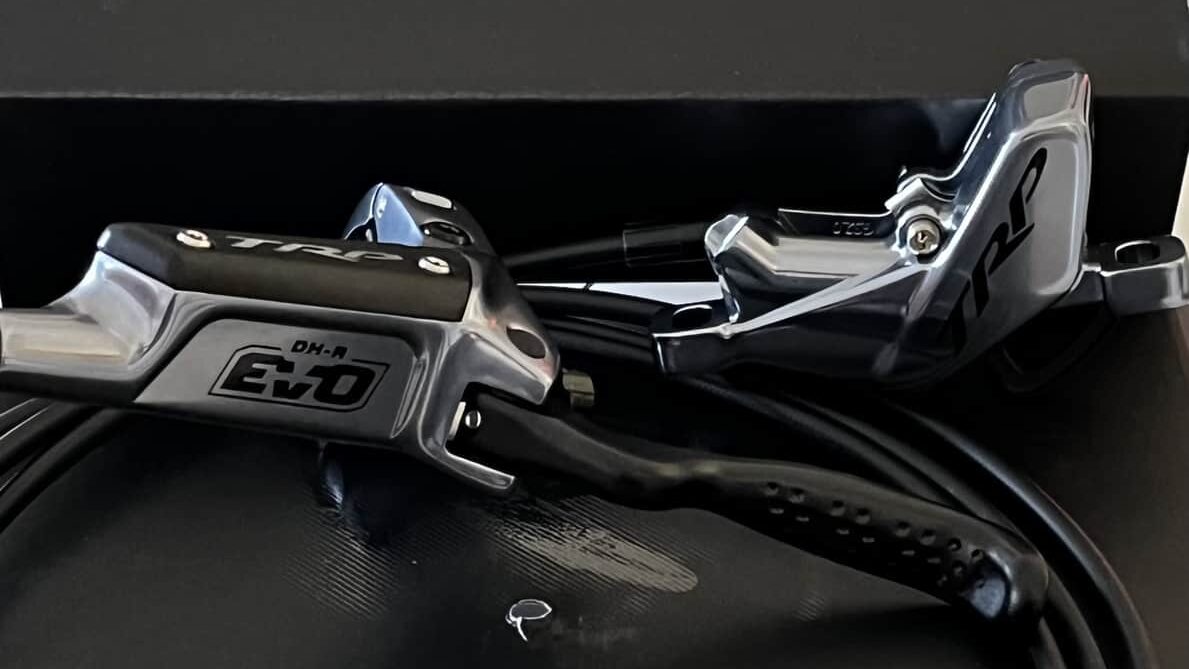
Disc Brakes
How worn are the discs and the brake pads front and back? You can check the pads by looking in from the top or front of the caliber.
The rotors are best checked with clean hands by feeling the difference right where the pads rub. A regular replacement interval is every two sets of pads.
Are the brakes spongey?
If so, this is another sign of a bike not serviced well. While various brake systems feel differently at the bite point, all of the feel spongey when there’s air in the system. Regular bleeding eliminates this issue. It’s cheap and easily done. So no reason not to do it. Also, make sure the brakes are not leaking anywhere, especially at connection points
Is there play in the dropper seatpost?
It should actuate smoothly up and down. One that shoots up too fast can be dialed in better, but one that comes up very slowly needs servicing. This can get expensive and time-consuming; especially ones with hydraulic levers.
If you put weight on it, it shouldn’t sink down. A couple of millimeters is okay, just like a very minimal sway from side to side.
They’re functionally quite similar to suspension, so no leaks and effortless function are crucial.
Worn brake hoses
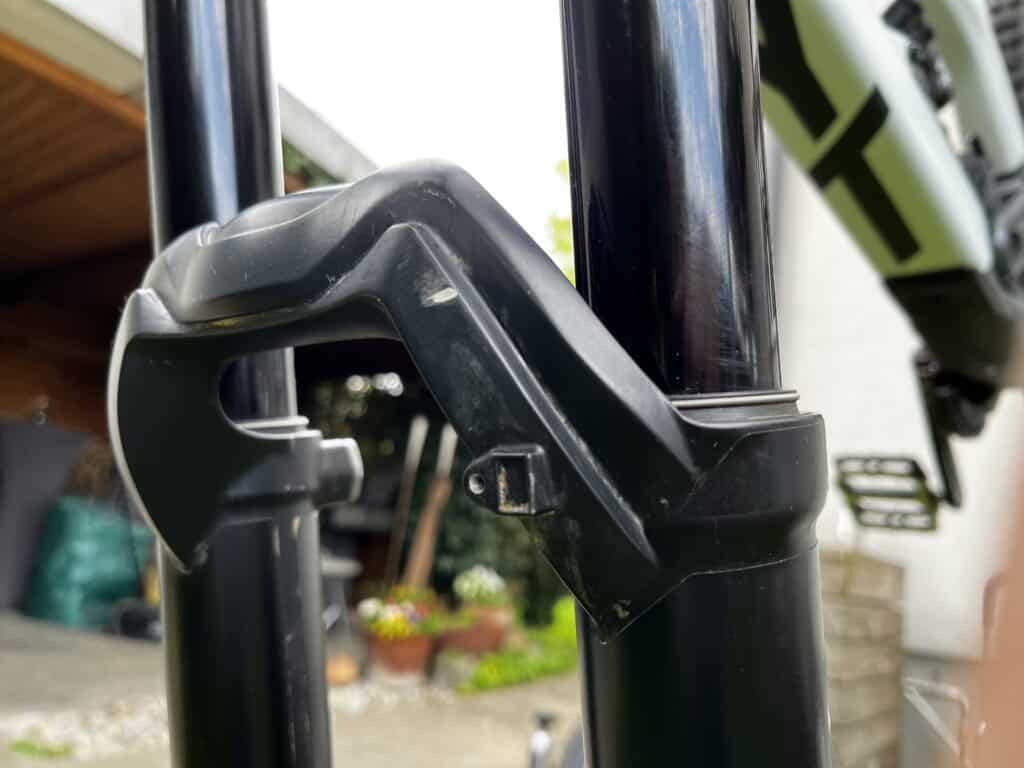
Modern mountain bikes have hydraulic brakes, which must be leak-proof. Make sure the front brake line is not worn from moving with the front fork. And the rear line isn’t damaged or leaking either. Pay special attention to crash marks along the hose, and sharp bends near the caliper or rear suspension. If a hose is damaged, it needs to be replaced.
If the bike has external cable routing, check any place where cables are loose or bent sharply. Some bikes even have them routed along the downtube, which is a common place for crash damage or rock strikes.
Rear end frame bearings
Try and move the rear of the swingarm from side to side to check the swingarm bearings. There should be very minimal movement here. You can feel this rather than see it. If there is, the bearings will need replacing.
Wheel bearings
Now do the same but grab the rear tire to wiggle side to side. If there’s play now, that hasn’t been there in the rear triangle test, it’s the wheel bearing.
The front wheel bearing and axle play is best tested by holding the handlebar tightly and trying to turn the wheel. With dual crown forks, turn the bars as far as they go and then wiggle the wheel. You don’t really want any movement here.
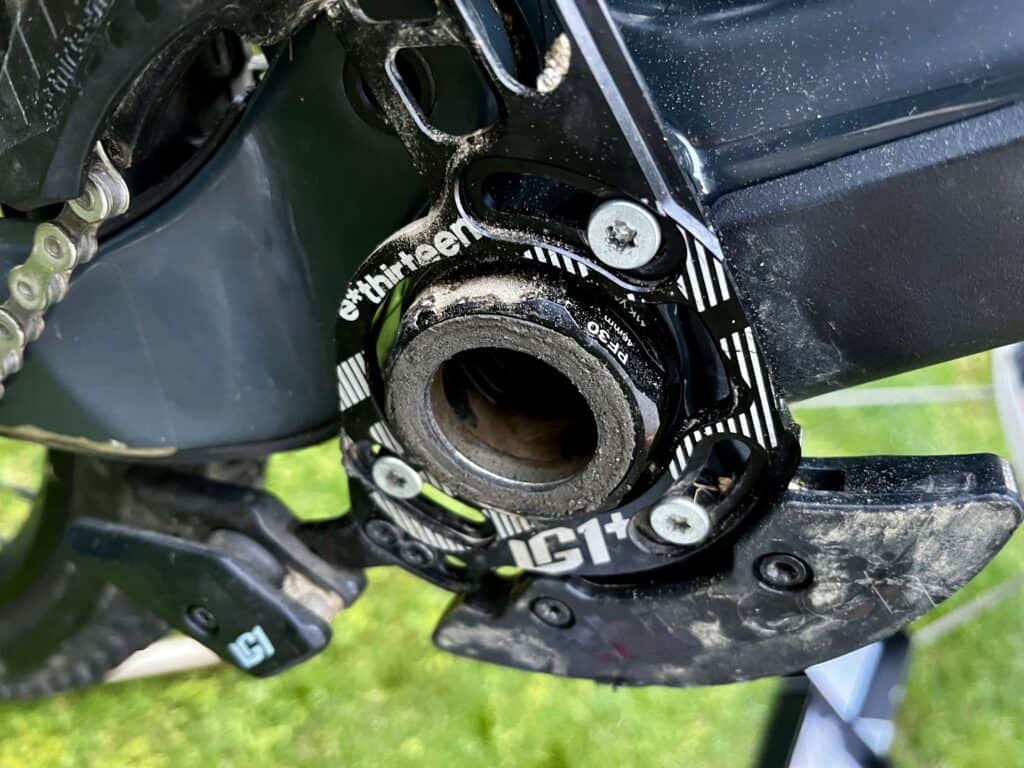
Bottom bracket bearings
Often overlooked, but one of the most expensive bearings on an MTB, definitely check the BB. Since it sits right in between many moving parts, it’s a little tricky to check.
Start off by using the same technique as the wheels, by pushing on the crank arm (not the pedal, as there’s another bearing in there). Then, check if it rotates smoothly without feeling grimy. Lastly, stand on the pedals and fully weigh each side to check for loose or broken bearings that click.
Headset bearing
Hold onto the headset cap (between the head tube and the stem), apply front brake and rock the bike back and forth. If there’s play in the headset, you’ll feel it. Do the same by grabbing the fork where it connects to the head tube to check the bottom headset bearing.
If you feel a bit of movement in the steering head or it even makes a clicking sound, the headset bearings may be on their way out, which can get pricey.
Suspension seals
Check the fork seals are not leaking. You will see oil traces down the front forks if they are. This means they’re overdue for a service. Same for air shocks. Coil shocks can leak too along the shaft but you have to look closely behind the coil.
And while you’re at it, make sure there are no damages on the stanchions, which would impede the function. Scratches on the fork lowers are only visual.
Due diligence on the seller
Despite the closest inspection, some things can’t be seen. So, ask the seller questions like how often they service their bike or change worn parts. Ask for receipts of any claimed rebuilds or repairs done. A knowledgeable owner, taking good care of his equipment can usually answer technical questions in great detail and explain the ins and outs of the bike.
Take a look around the seller’s garage or property where they’re selling their bike. If the garage or home is a shambles you can probably bet that they are lazy and wouldn’t have looked after their bike very well either. While first impressions don’t tell the whole story, they are a good anchor point.
Upgrades and overall impression
Similarly, a bike cared for usually has little, intricate details or upgrades added. Some for looks, and some for more comfort or performance. They’re a good indication if the rider knows what they’re doing. Stickers all over are probably not a good sign, especially ones in weird places that may hide something underneath. Listen to your gut feeling on the overall impression you gut up until this point.
Everything looking good so far? It’s time to take it for a test ride!
Test-ride the mountain bike
This is how you test an MTB:
- A big part of determining the condition of a bike is by listening, believe it or not. There are noises like creaking and clicking that indicate a poorly-maintained bike. And then there are other less-critical sounds that are just annoying and can be eliminated easily.
This may only be picked up by someone with experience, so bring a friend along if you have difficulty on your own. - Loud brakes don’t need to be alarming right away. It could also mean the bike has not been moved in a while. To check, heat up the brakes by constant light braking while pedaling. Be careful, you don’t want to lock up the wheels! They should get quieter the warmer they get. If not, either the pads or the rotor are contaminated and need replacing.
- The suspension is actually not completely silent and should make a satisfying squishy sound. But not sound like it’s sucking air. And definitely not like metal parts rubbing on one another.
- Test all the gears as sometimes certain gears jump or aren’t quite aligned properly.
- Make sure you feel comfortable on it. Sure, slight setup adjustments will be necessary to daily it in. But a first riding impression is still valuable. After all, a decked-out bling bike isn’t necessarily going to make your rides any faster or more fun.
Unless you have ridden a number of bikes this will be difficult to gauge though. Especially on different-sized ones.
