Finding the optimal tire pressure for your mountain bike is probably the single best performance boost you can do on your bike – and it’s completely FREE.
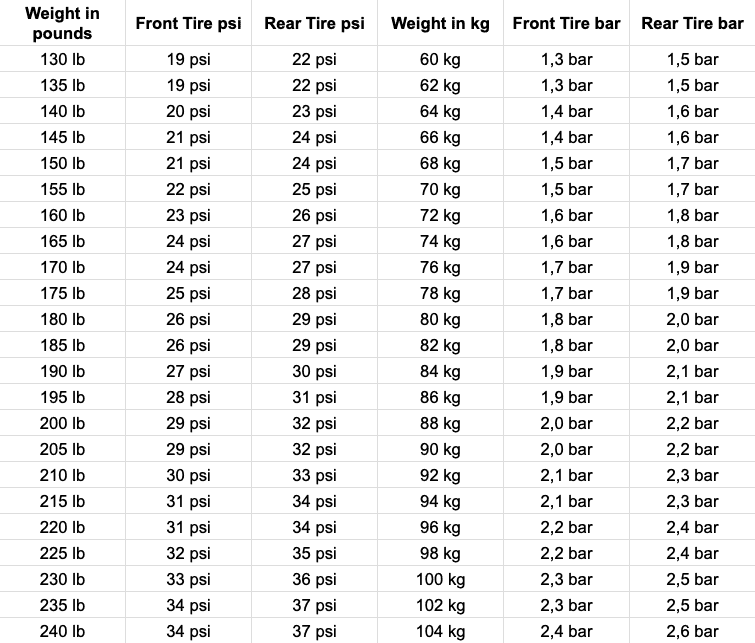
The table below makes finding the right psi (or bar) for you incredibly easy – by looking up your rider weight in the table below:
MTB tire pressure chart
Even slight variations in the psi (or bar) have noticeable effects on rolling resistance and handling.
Feel free to try slightly higher or lower psi from your baseline in the table. Rider weight includes all your gear including helmet, protectors, and your backpack.
Tip: Bookmark this page on your phone for quick and easy look-ups out on the trail.
Tips to find your optimal tire pressures
When testing out different tire pressures, it’s much better to start high and then let out a few psi at a time.
It’s a balance between roll speed and traction. Depending on what type of riding you to, one is better over the other – but you can’t max out both.
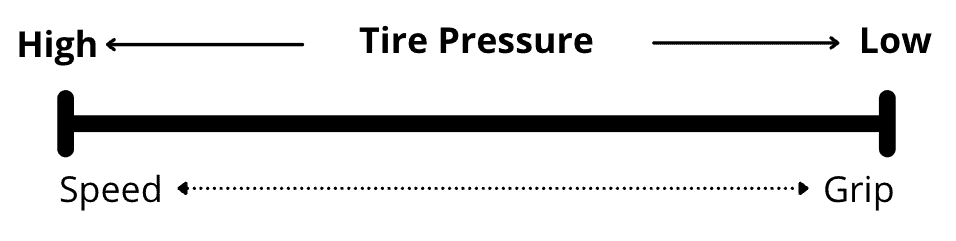
Higher = faster rolling but less traction
Even 3 psi can make a noticeable difference. Finding your optimal tire pressure is trial and error. The simple formula used for this chart should be able to give you a good baseline for the right tire pressure for you.
The formula
There is an extremely simple, yet effective formula for both the front and rear tires using only your weight as a rider:
front tire psi = rider weight lbs ÷ 7
rear tire psi = front tire psi + 3 psi
This is how the table above works.
When testing your optimal pressures, there’s also my tire pressure calculator (using the same formulas) for quick reference. Whichever is more useful to you.
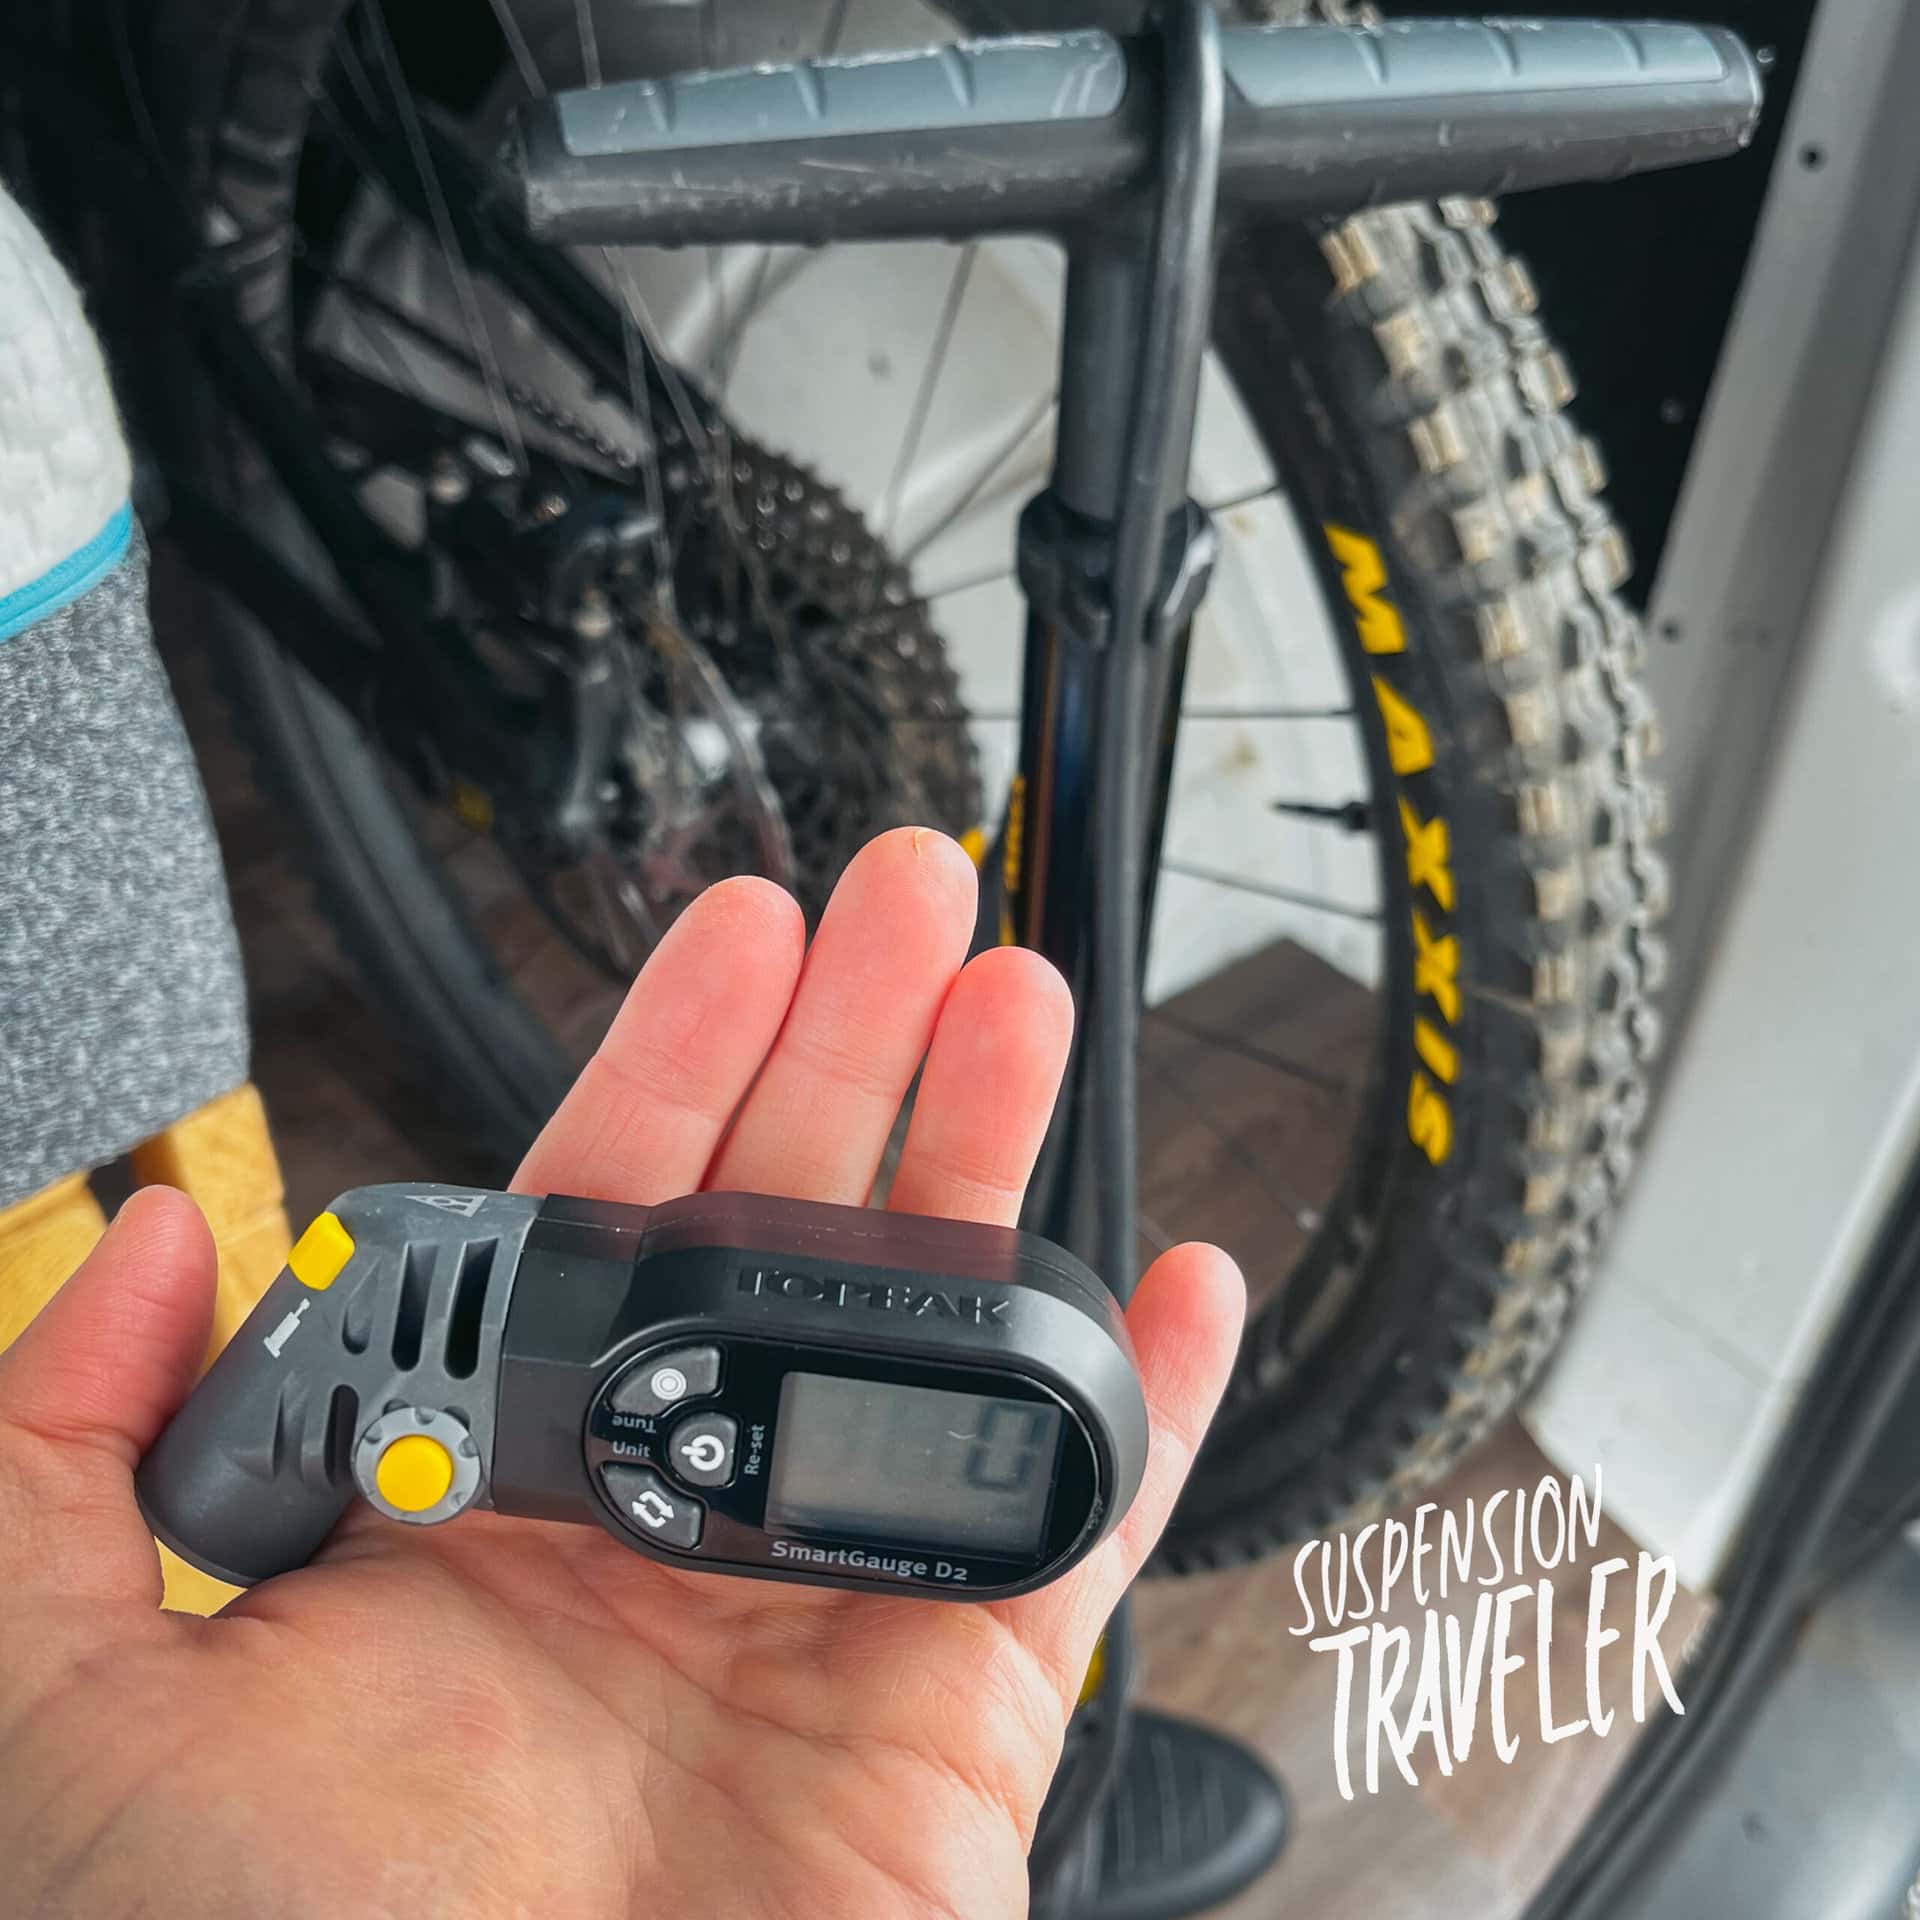
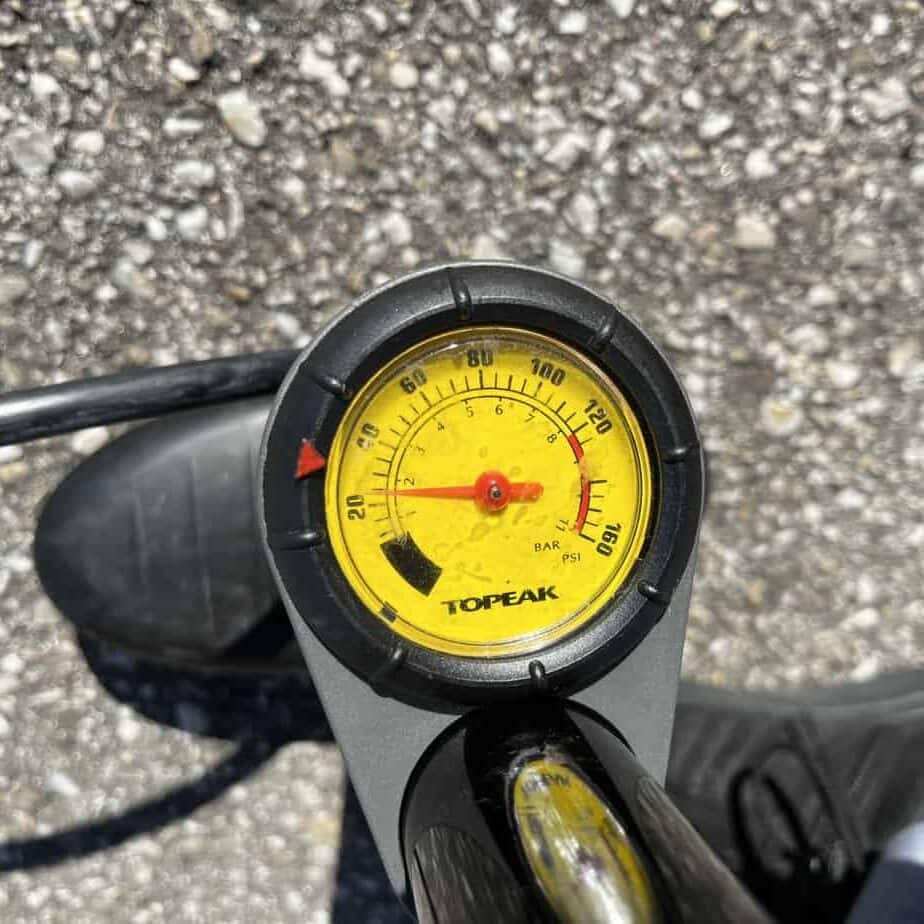
For me personally, I found 23 psi front and 27 psi rear a good benchmark on the enduro bike with tubeless tires. I don’t need it to roll fast but grip to loose trails. And on my downhill rig I run 24 psi front and 28 psi rear with tubes and stiffer DH tire casings.
Higher pressures also help with puncture protection in rocky alpine terrain. For reference, I weigh around 170 lbs fully geared up.
Low tire pressure: risk vs reward
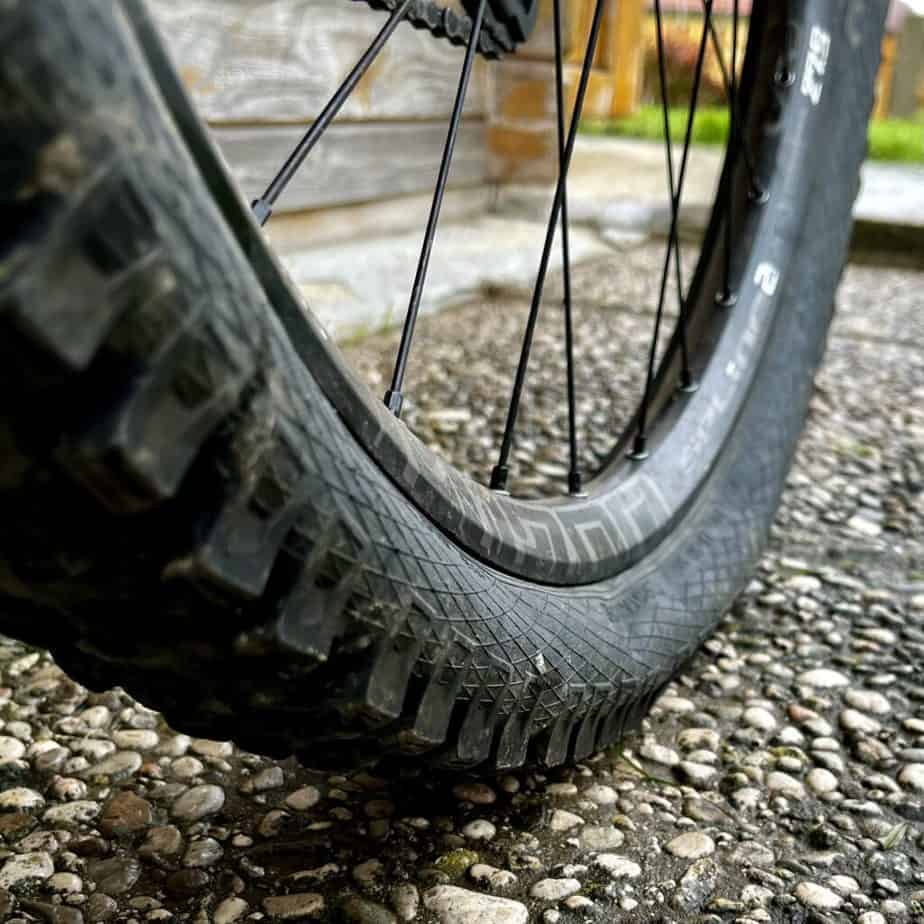
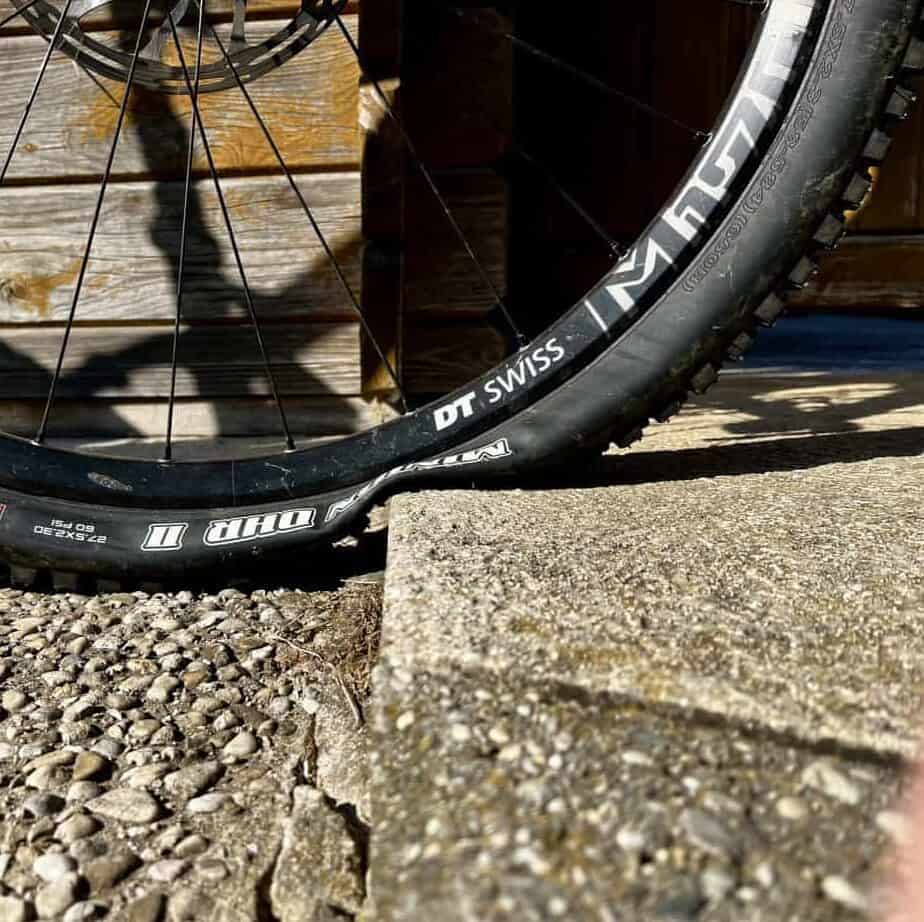
In MTB you want lower pressures to allow the tire to conform to the ground and really dig in to generate traction where the terrain offers little.
They also allow the tire to absorb more impacts, improve performance and even reduce risk of overuse injuries.
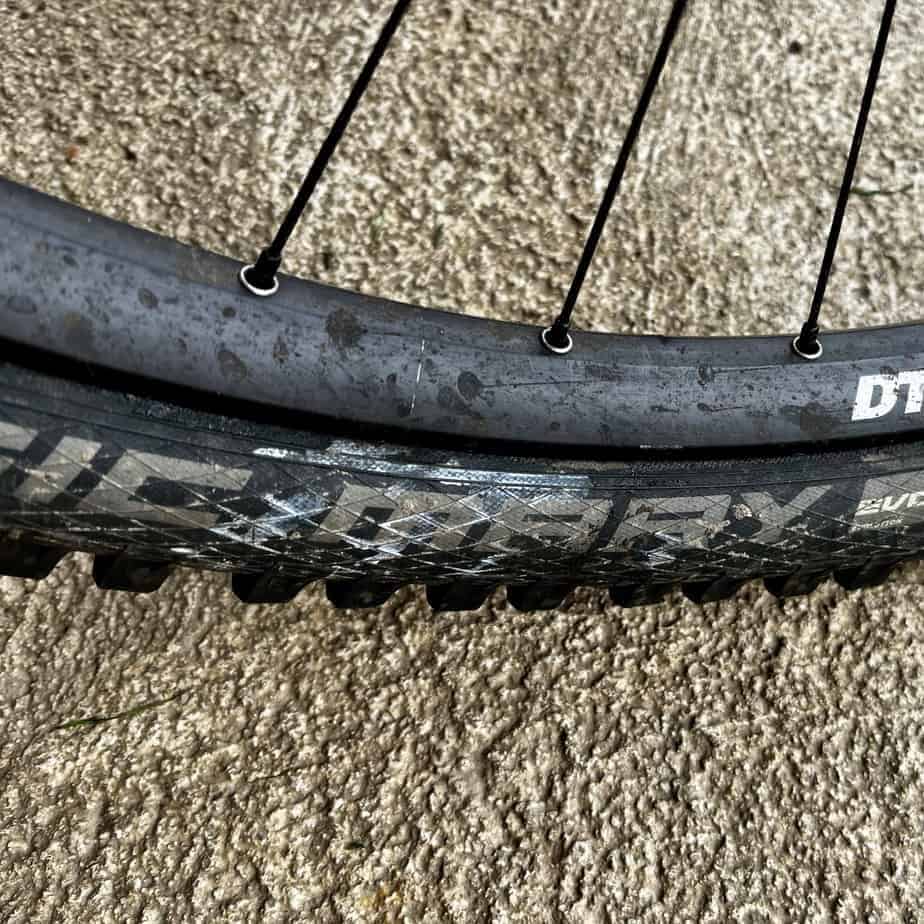
But too low tire pressures are by far the most common reason for flat tires in MTB: pinch flats, punctures and burped tires.
So if you experience a lot of punctures, you may want to put a little more air in your tires or upgrade to stiffer tire casings.
Variations by Trail and Conditions
The faster you go, the higher the pressure.
On that note, I should also mention that the same trail in different conditions well requires different pressures to get the most out of your tires – if you want to do that.
(I leave mine the same at all times as I prefer consistency and predictability over marginal gains.)
Dry & Dusty
In dry conditions, the ground offers so much traction by itself. That allows you to roll faster with higher pressures.
If you’re going to lot faster, you’re hitting roots and rocks harder and you’re gonna need more tire pressure for protection and support.
Wet & Muddy
You can run lower tire pressures if it’s wet and you’re going slow because there’s less traction.
For mud, it depends on the mud. If it’s an inch or two of thin mud over a hard surface then ‘cutting through’ with pumped up tires makes sense.
If it’s just deep mud or water on top of the mud, getting a wider tire profile (by having lower pressures) can help you stay on top with floatation.
