
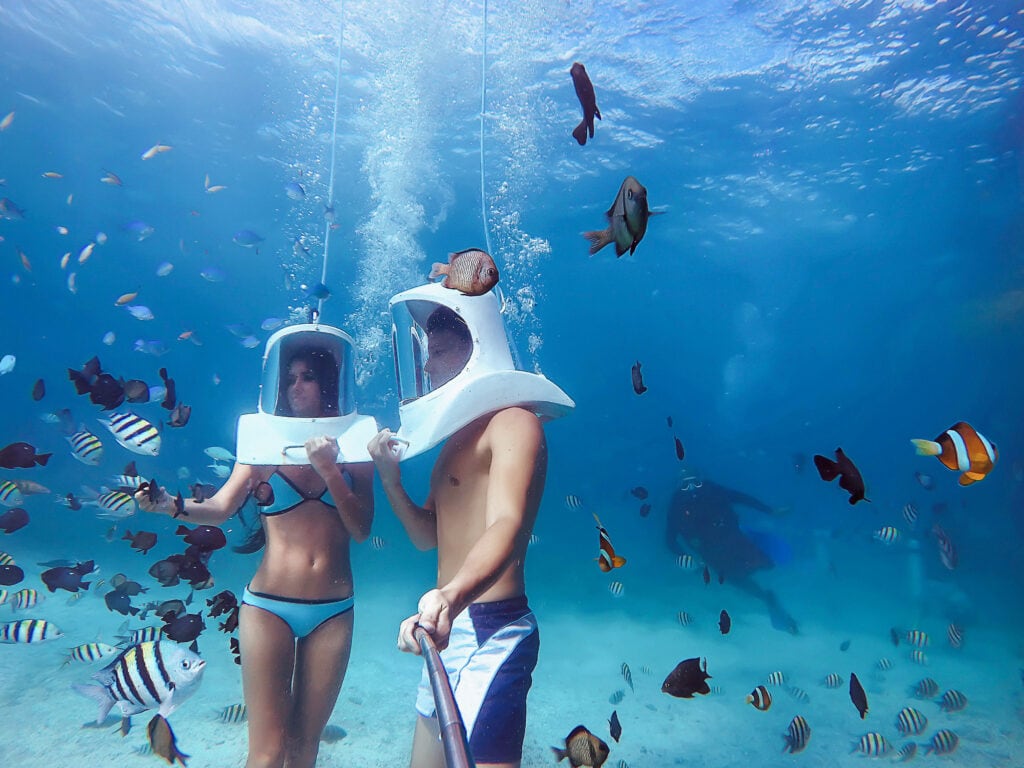
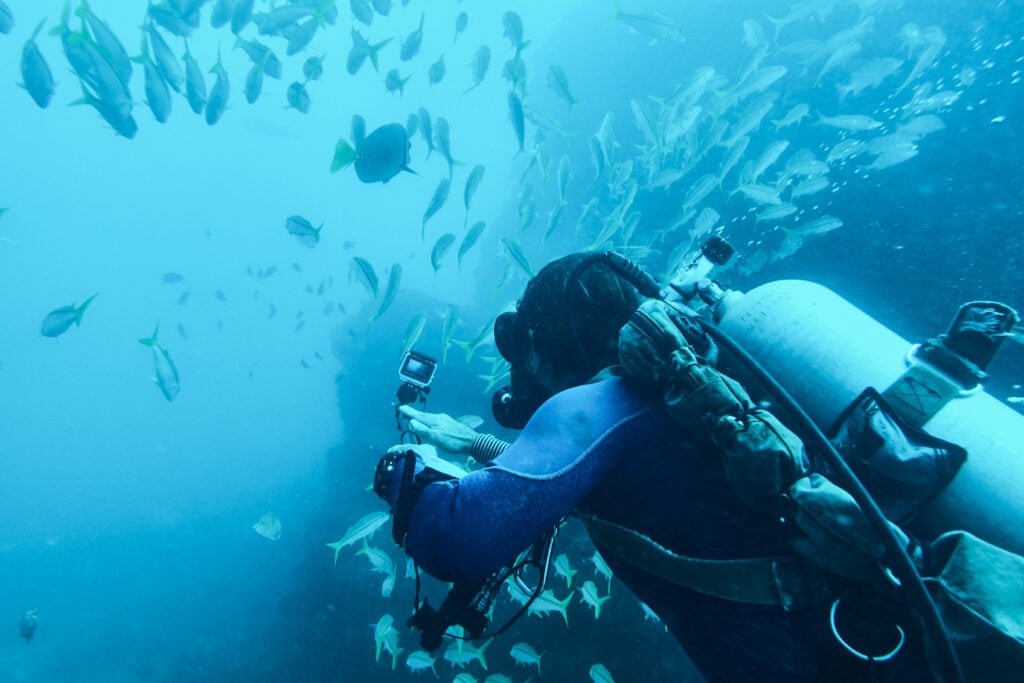
Underwater filming is one of the most difficult environments for small action cameras like GoPros.
The key is to set a few boundaries with manual settings to get the best video quality. These are the best underwater GoPro settings I could find when testing:
- HDR mode: Off
- Framerate: 30
- Resolution: 4K or 5.3K (personal preference)
- Lens (Field of View): Wide or HorizonLock
- HyperSmooth (Stabilization): AutoBoost
- Pro Controls: On
- 10-Bit Color: On
- Bit Rate: High
- Shutter speed: Auto
- EV Comp: -0.5
- White Balance: 4500K
- ISO min: 100
- ISO max: 1600
- Sharpness: Low or Medium (personal preference)
- Color: Flat (for editing) or Normal
- RAW Audio: Off
- Wind (noise reduction): Off
- Everything else: Off
- Video Mode: Highest Quality
- Display Settings:
- Screen Saver: Never
- Display Brightness: 50-100%
These are tweaked to work in underwater conditions when much of the scenery is blue. Mainly the White Balance and EV Compensation are different from what you’d use normally.
Using these settings, the camera will only adjust the shutter speed and ISO automatically to adjust the exposure on the fly. Everything else is in your control for consistently high-quality footage!
Don’t forget to save these as a custom preset, that you can get back to any time!
You can even switch through setting presets underwater pressing and holding the power/mode button and then pressing the record button at the same time. Cycle through your custom presets using the mode button on the side.
3 most important settings underwater
White Balance is the most critical one! If you only adjust one setting, this is it.
White Balance
Recommended: 5000K
The new GoPros have gotten pretty good at auto white balancing, even underwater. But in order to get reliable, consistent video footage, you may still want to use manual WB.
- 5000K up to 30 ft (9m) water depth when snorkeling
5500K is the daylight color temperature and GoPros tend to look warmer anyway. At shallow depths, there is still lots of daylight coming through.
- For divers going below 30ft, use underwater lens filters to compensate for greens (as GoPros can only adjust WB on a scale from red to blue)
The deeper you dive, the less red and orange light gets through and the water gets greener and then deep blue.
This is why colors can look completely wrong and even change throughout a clip.
In fact, the deeper you go while diving, the less (red & orange) sunlight you’ll have as it gets diffracted by all that water and the bluer the hue will get. Similar to a cloud cover.
The specific Kelvin number will depend on the depth, but hovering around the temperature of sunlight is a good anchor for snorkeling.
Unless you’re using additional mounted lights to illuminate the scene, that is. Then adjust to the color temperature of those.
ISO
Recommended: 100 – 1600
Too much ISO is the main reason for grainy GoPro footage.
Using the above settings, your GoPro is still adjusting the exposure (brightness) automatically by adjusting ISO and shutter speed.
Setting one fixed ISO value is not recommended to not limit the camera too much. To still prevent it from going too far and produce grainy, bad-looking footage you can set the ISO range.
Up to ISO 800 is recommended for a GoPro, but with underwater being low-light ISO 1600 or even 3200 may be necessary. With that being said, you may get away with lower ISO and turning stabilization off if you can film smoothly while diving.
Color Profile
Recommended: Normal or Flat for editing
Underwater scenes usually are beautifully colorful as it is. So, the “Normal” color profile may work well too, based on your personal preference. It provides the saturated colors and high contrast you’d expect from an action cam.
The huge benefit of using the desaturated Flat profile is the freedom it provides in color grading.
Especially for underwater filming, this can make a huge difference! It allows saving otherwise ruined footage with incorrect colors or a strong green hue.
So you don’t have to get it perfect in-camera when filming. Which is hard to do as it is with the limitations of not being able to use settings and the small screen.
Here’s a direct comparison of the GoPro color profiles in normal daylight:
More underwater-specific Tips
Set up presets
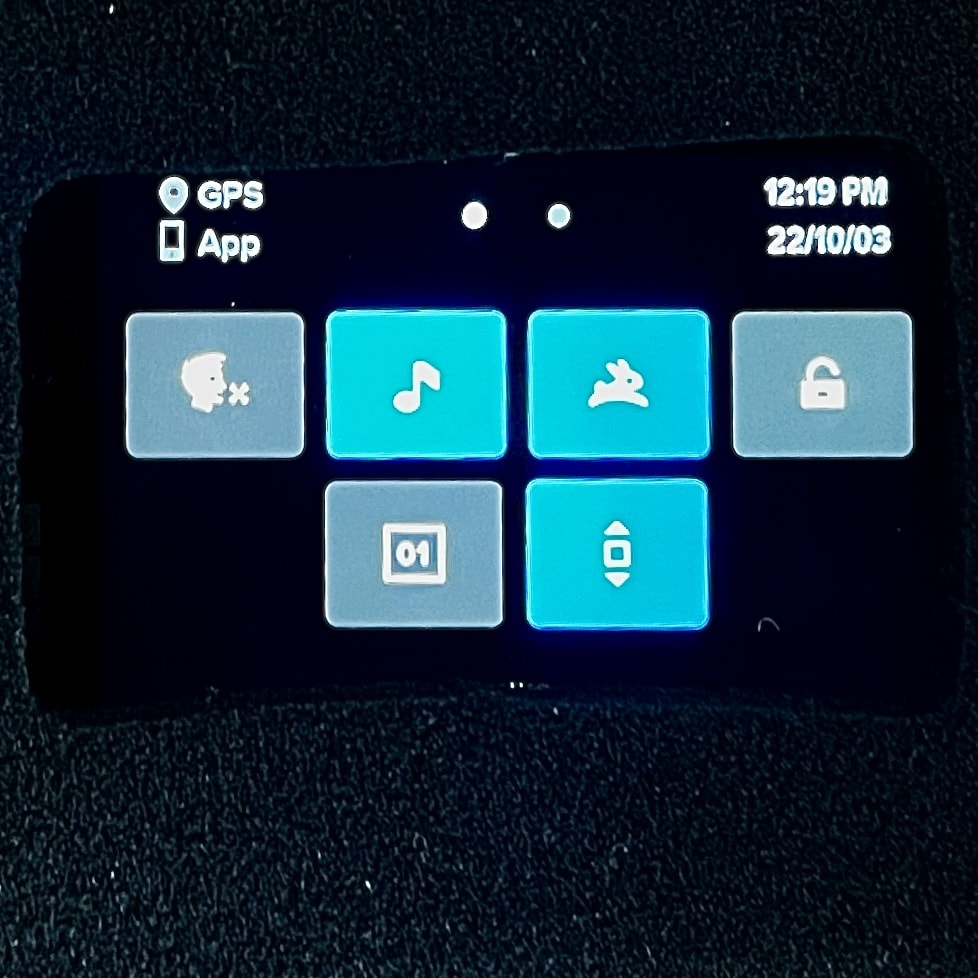
Underwater, the touchscreen on GoPro cameras cannot be used.
But setting presets still can be changed when submerged using both buttons at the same time.
Ideally, presets are set up to make adjustments for framerate, white balance, resolution or lens modes.
How to make your underwater video crisper
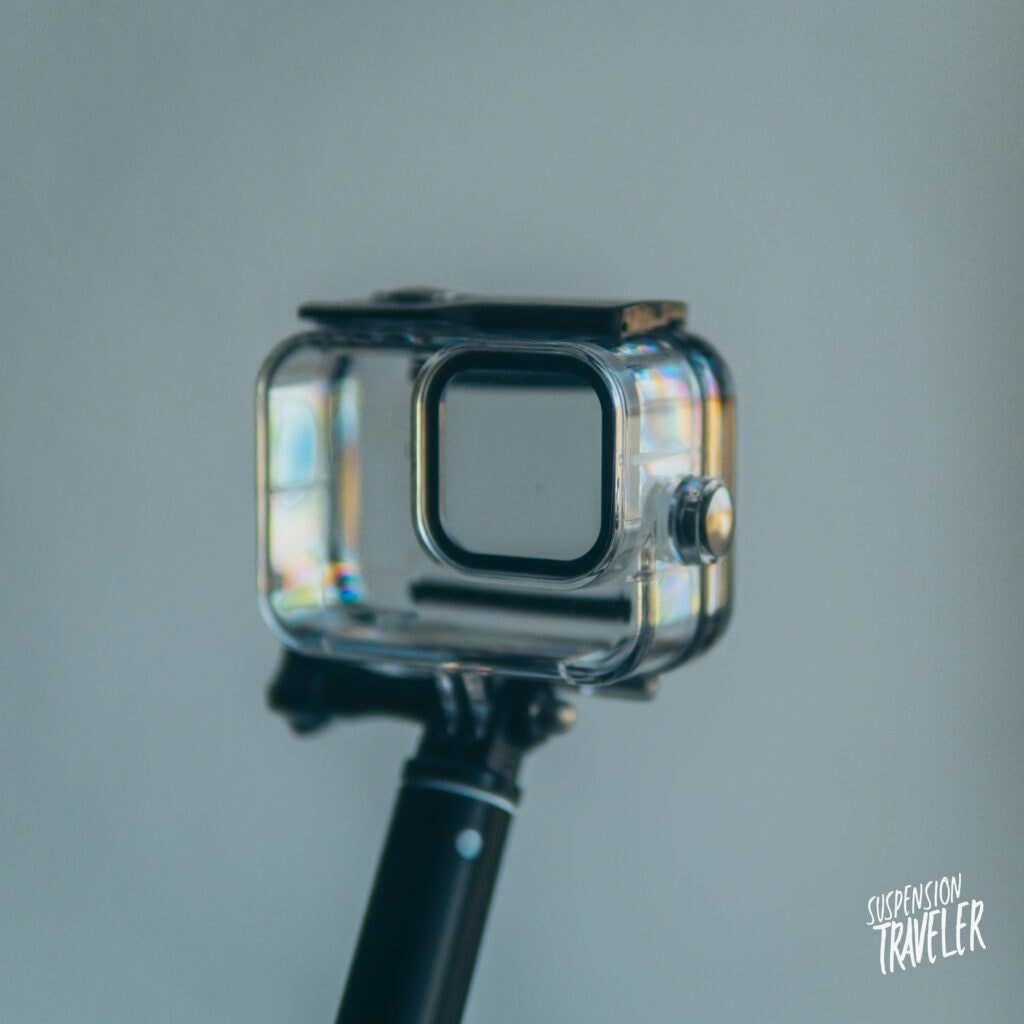
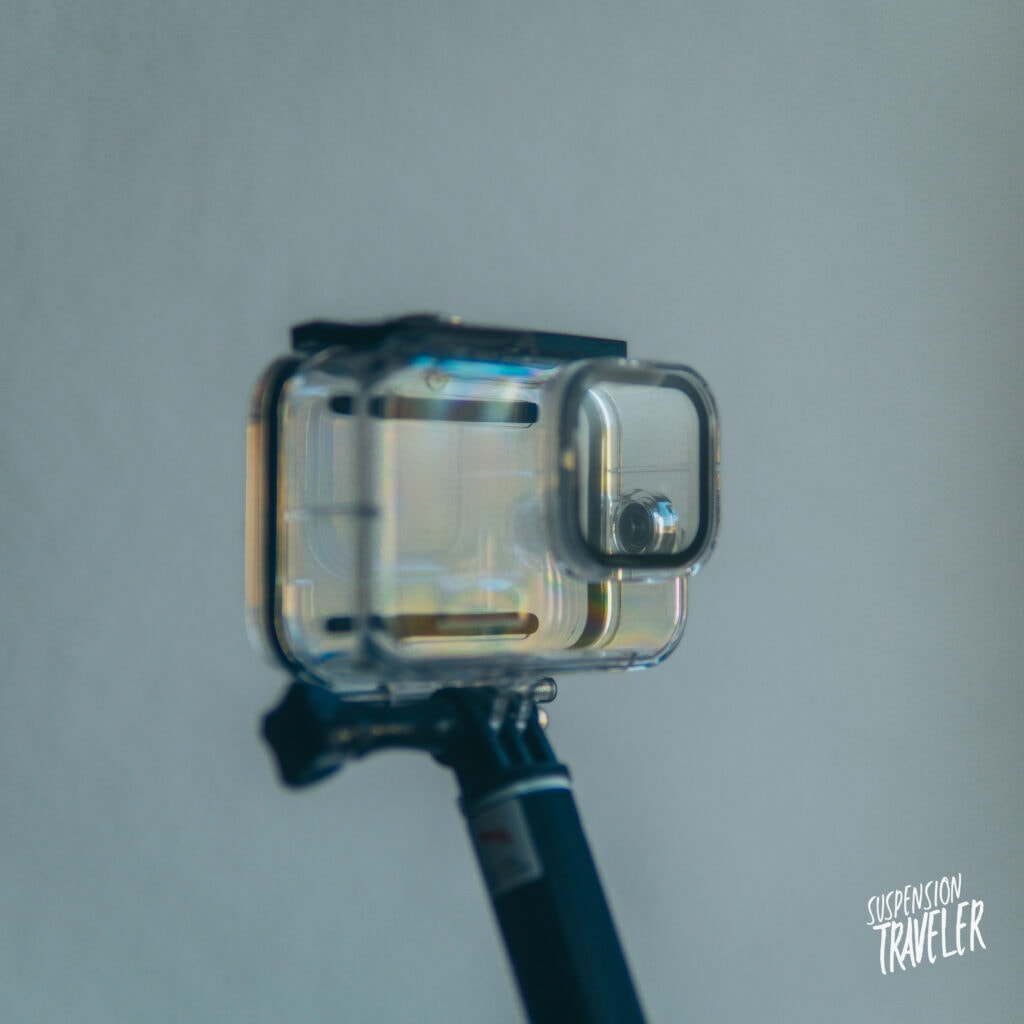
A blurry image underwater is caused by the light diffraction of the various mediums of water, air, and the lens cover. Especially the curved lens housings of older GoPros lead to blurry footage.
Using the regular GoPro diving housing with a flat lens cover or a GoPro diving dome to add a layer of air between lens and water are ways to make diving footage sharper.
Note: sing the sharpness setting does not make your GoPro diving videos sharper as this is only a processing effect. The source of the problem happens before due to the physics of the various materials involved that light has to travel through until it hits the sensor.
Useful Underwater Accessories
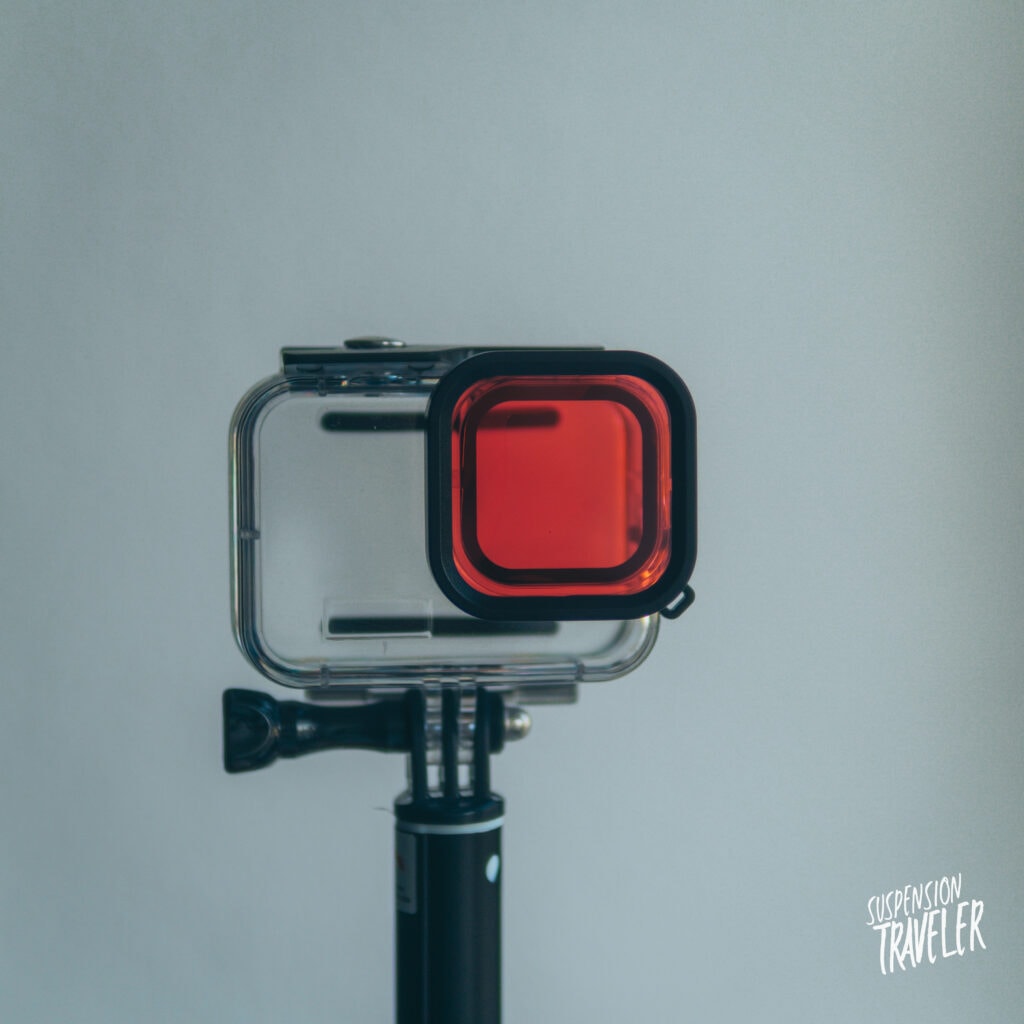
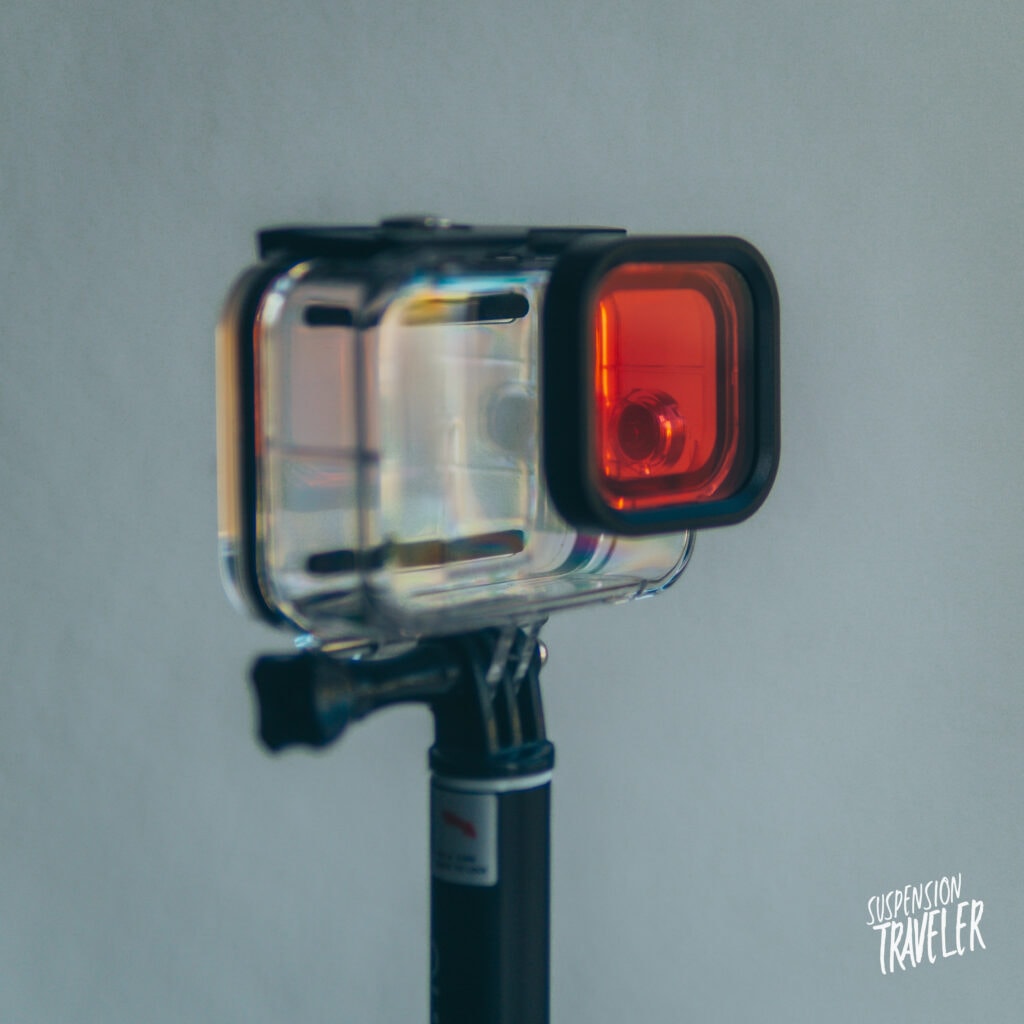
Color filter (red and green)
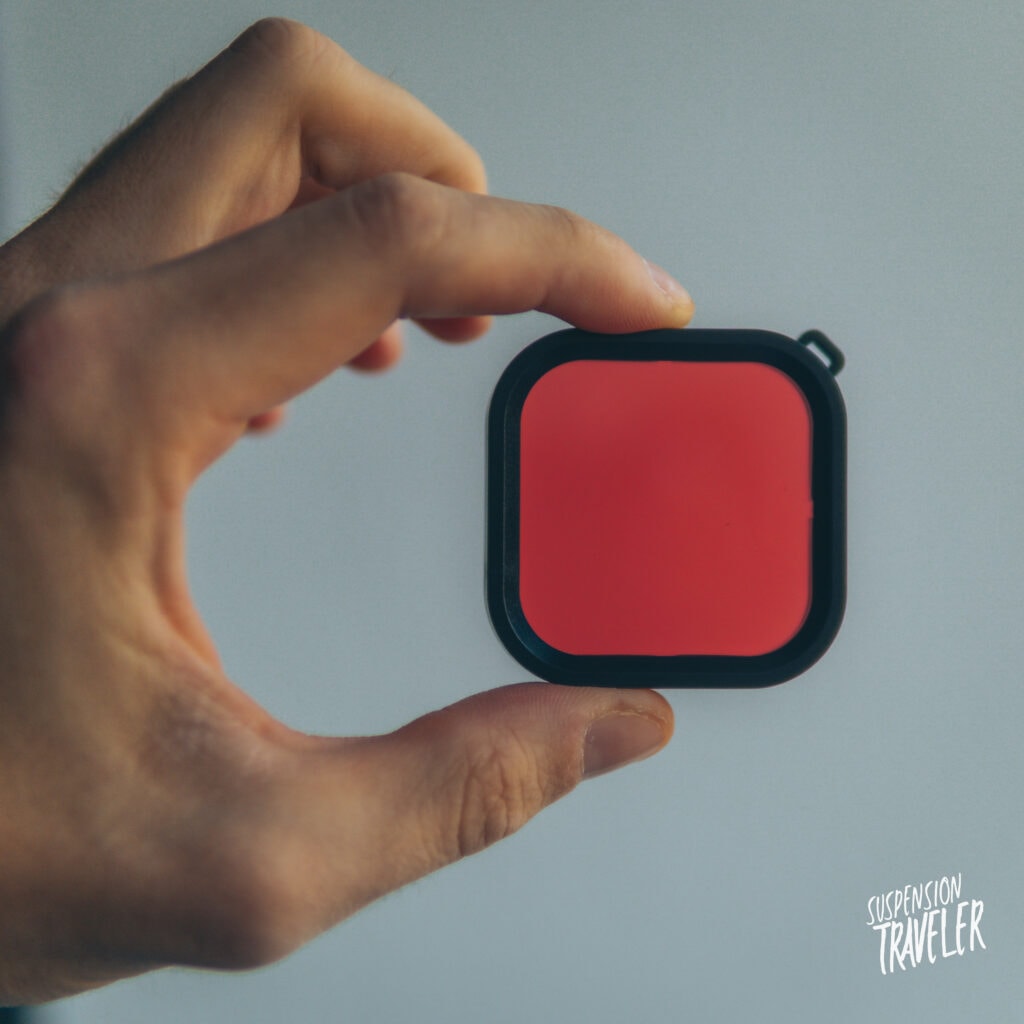
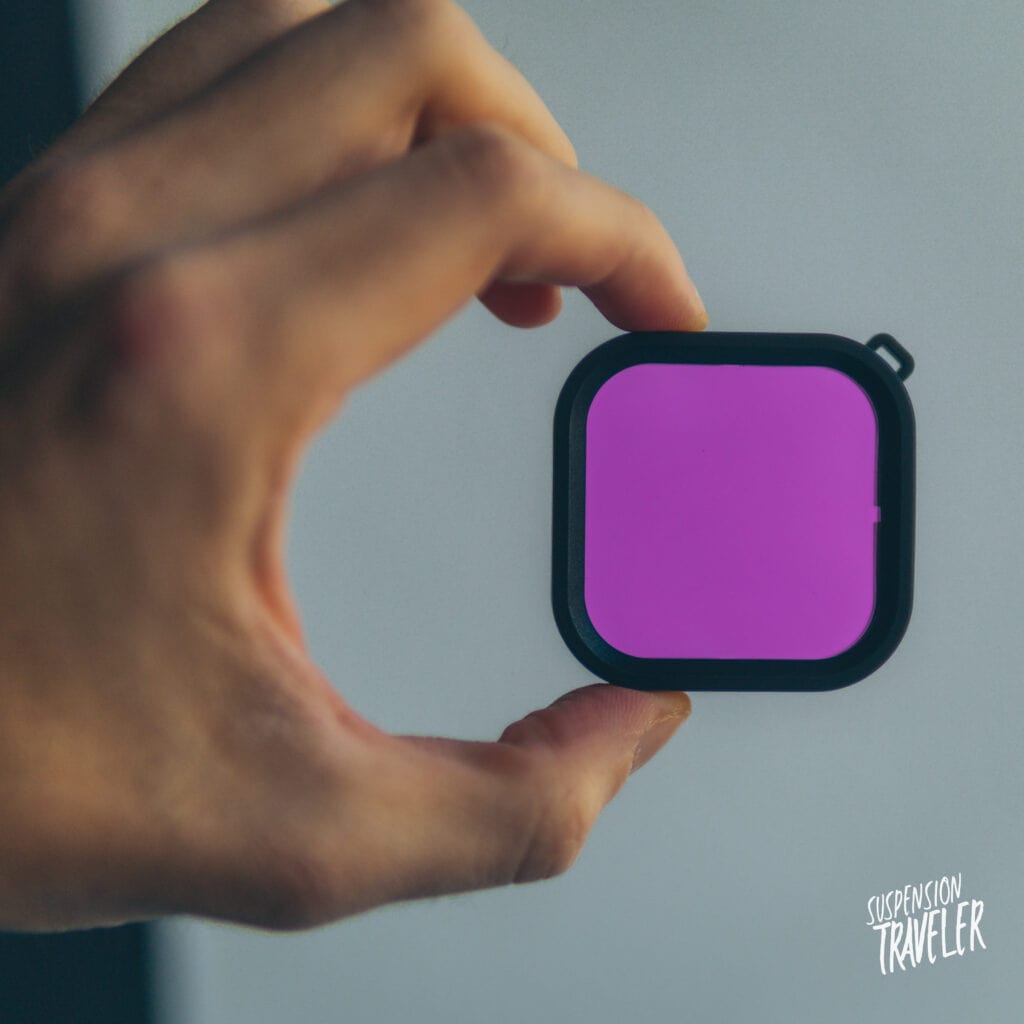
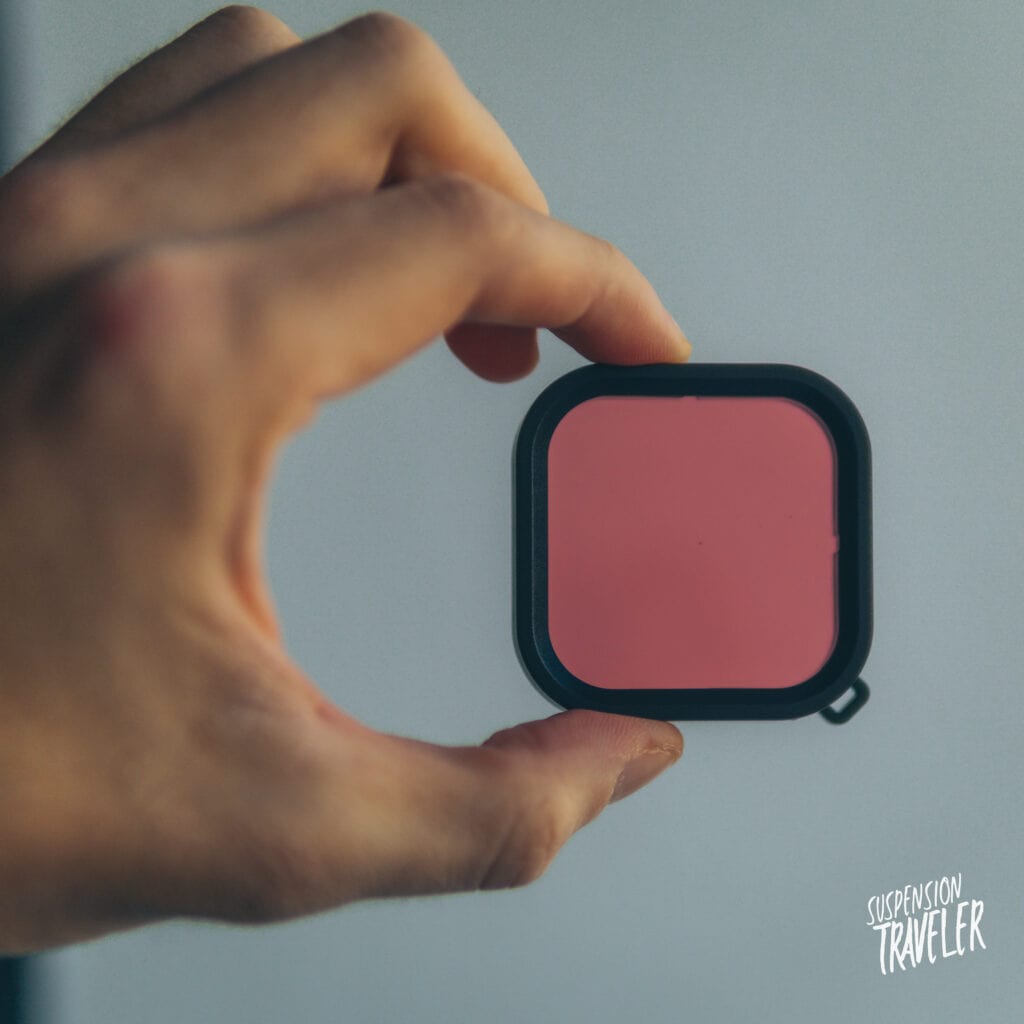
As I said above, color filters are a big difference-maker for making diving videos! They’re mostly called red-filters but actually come in more tints than red.
Namely red, purple and magenta for different diving depths and water colors to reduce specific tints in the water.
Those are usually slide-on filters that go over the lens cap, instead of replacing the actual lens cap. Which is very much recommended as there’s no way water, salt, or sand can get into the camera housing and on the lens.
Aftermarket lens covers are not guaranteed to be 100% water-sealed.
I got the HSU waterproof housing and filter kit, which includes 3 tempered-glass color filters in red, purple and magenta.
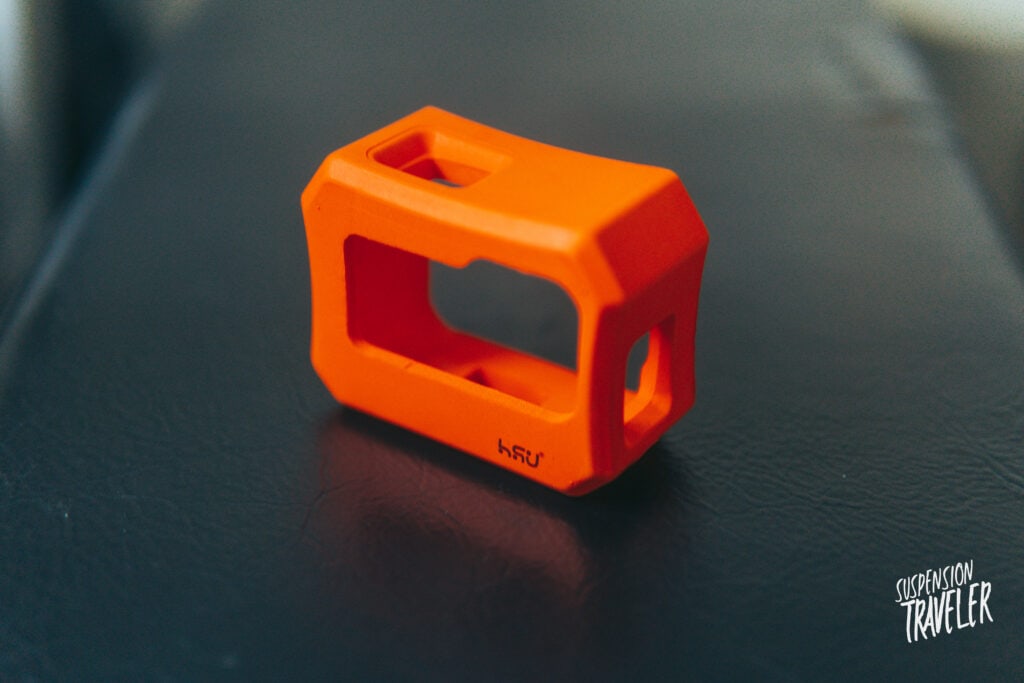
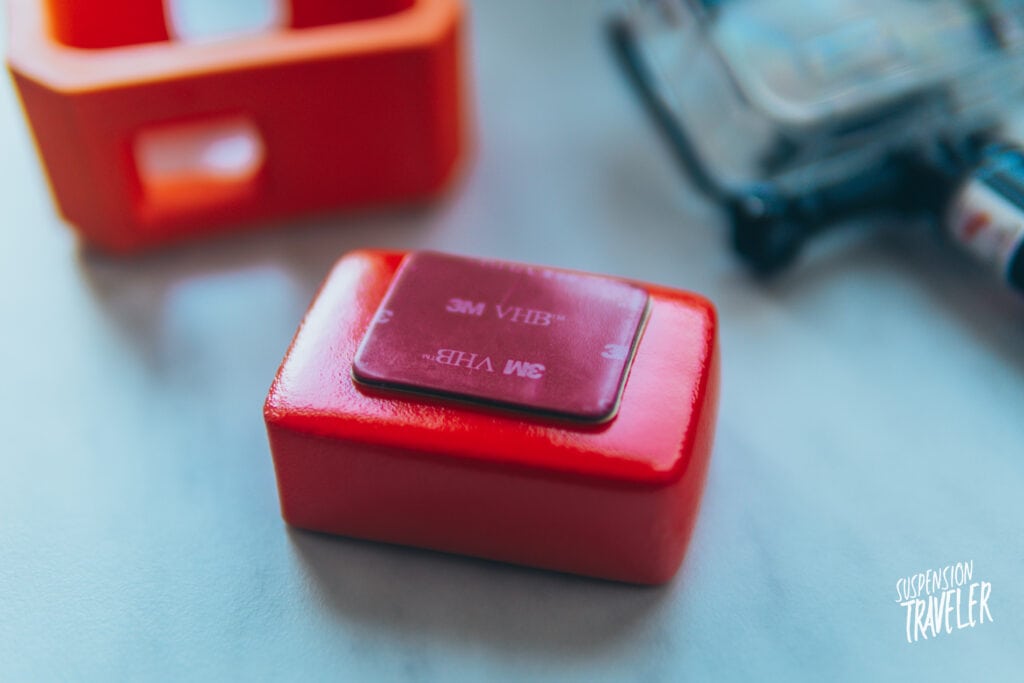
Floatation Housing
Besides getting good footage, it also helps not losing the GoPro during sea adventures. Wrist straps, floating hand grips and floating housings (from HSU) are a great way to do that.
There’re also floating backpacks to stick on the rear, but then you’re relying on the glue in salt water.
How To Activate Pro Controls
- On the main screen swipe down to reveal the menu.
- Swipe left to get to the second menu page.
- Tap on the button “Controls” in the lower left corner.
- Switch it from Easy Mode to “Pro Controls”.
- Done, now all the option ProTune settings are unlocked for you.
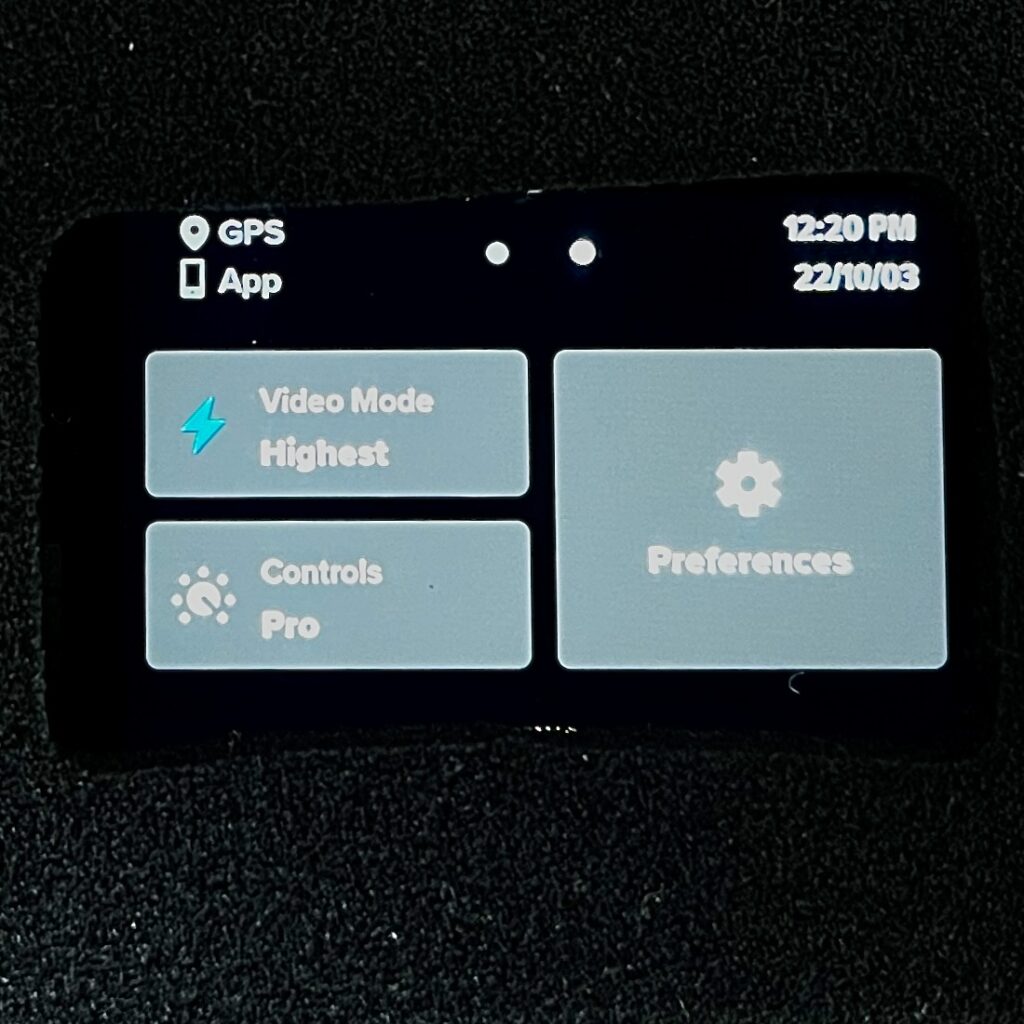
In order to gain access to the full list of settings, you need to activate the PRO setting on the second page of the main menu. The detailed video settings are accessed through the bottom menu of the main screen (viewfinder).
